Peep Goes Live With PicMonkey!

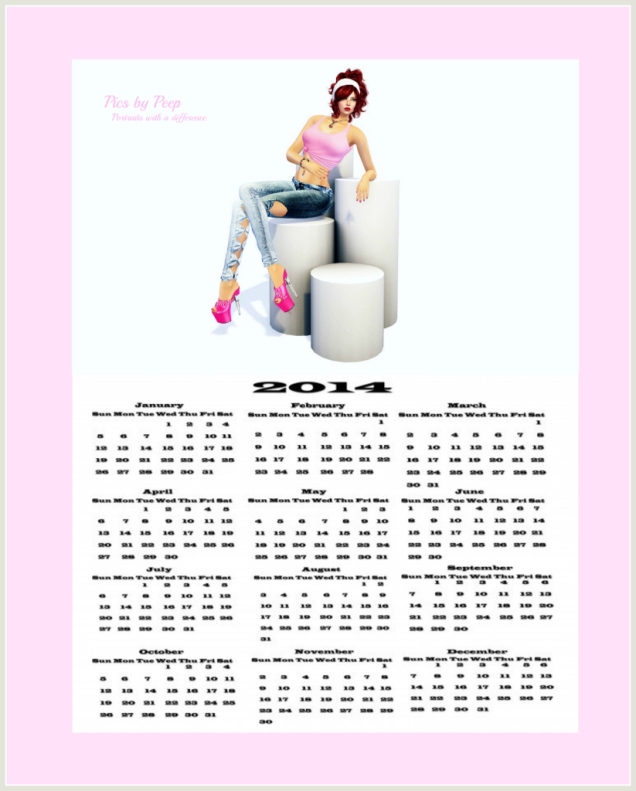
1 Peep's 2014 CalendarWM

As you are probably aware, I am a big fan of PicMonkey.com for photo editing. I have done three previous tutorials on PicMonkey, but this time I’m actually doing a video tutorial. Please forgive my clumsiness using the video capture software; I am a complete novice and it shows! I used CamStudio.org to record my video. This is a free application and it’s relatively simple to use, if you watch the set up video. If you choose to install it, please pay close attention during the installation – they have several add ons included so make sure you opt in or out of each one.

The reason I am doing another tutorial now is two-fold. First, PicMonkey.com is offering a one-week free trial of their Royale effects. This is a limited-time offer and I have no idea how long it will be available, so if you’re interested in checking out the additional features you can usually only access by paying for the service, act quickly! You can always opt out if you decide it’s not for you. But hey…who can turn down free?

The photo above is the completed photo from my tutorial. This tutorial focuses on a new feature, Design – the second reason I chose to do this now. It allows you to create your own graphics, which I have used to make a simple calendar. I also show you how to create and apply your own watermark.

I have had such marvelous response to my previous tutorials (Teach Me Something Meme, More (Pic)Monkeying Around – Part 1 and Part 2) that I hope this one is as helpful. Feel free to leave a comment on whether you like it or not and what I can do to improve…other than changing my voice and learning how to use the software better. I know those two already 😉

I used a calendar image downloaded from PublicDomainPictures.net. This photo has a Public Domain license, so the only stipulation on use is to link back to the image in any publication. You can click on the previous link to access that picture.

I am embedding the video here, but you can also view it on youtube.

I had a lot of fun putting this tutorial together. Once I get used to using the video capture software AND I have something worth showing you again, I’ll be sure to do another one. It really is a lot easier than taking screen shots and typing everything out 😉
Reflections Among The Flamingos

Mirrored Reflection Take 1

This post is really just me playing around with a technique – using mirrored water in Second Life to create reflections. I had seen the tutorial by Strawberry Singh many times, but I had never attempted it before. But earlier today, one of my images from Flickr was invited to be included in the Magical SL Reflections group. I was captivated by so many of the photos there that I wanted to try myself.

I did go through the other tutorials listed on Berry’s page, and they were helpful. I am still having problems finding the right light settings (in fact, I actually tweaked one of the presets in Firestorm, although I can’t remember which one!) and I am having issues with jagged edges, even shooting at a high resolution (6144 X 4368). I discarded quite a few shots while I was experimenting and finally hit upon the one above that I felt was good enough to play with in Photoshop and finally, Picmonkey. I don’t love it, but I don’t hate it either.

I have now read through the comments (lol yeah, I probably should have done that first) and there are a couple of tips I may try out. And oops! – I was in such a rush to start playing with the photos today, I forgot to grab my credits (insert blushy face here). However, I can tell you the dress is by Rebel Hope and available at FaMESHed, the hair is from Emo-tions, my skin is Jade by [PXL] Creations, feet and hands are by Slink and I really don’t remember which pose I used 😦 Sorry! I promise to do better next time!

The flamingos have been wandering in the lily pads at our home since before we moved in. I’m grateful they didn’t fly away when I got so close 🙂

More Torture

Original
Original

This is going to be a very quick post today. I just thought I would share a bit of the torture I have been subjecting myself to.

Yep, I’ve been doing tutorials in Photoshop. Again.

I did the above photo and liked it ok, but I thought it would be fun to try out the tutorials I have been messing around with on selection techniques. I did the original capture, planted it on a background and the shadow which I had preserved from my original shot just didn’t work. So I fooled around with the image and came up with this:

Post torture
Post torture

I may actually like the original better. I’m still deciding. But I wanted to have you share my pain.

I’m just nice like that 😉

Pretty stuff I’m wearing:

Jacket: GizzA – Cotton Jacket [Pastel Peach] by Giz Seorn
Top: GizzA – Cotton Tank [White] by Giz Seorn (included with jackets)
Shorts: GizzA – Cotton Shorts [Pastel Ocean] by Giz Seorn
Boots: ::HH:: Hucci Akita Suede Boots – Collection by Eboni Khan
Phone:
Le Primitif – :::LP::: Gametoy_LPhone – Yellow by Chiharu Mercado Dubrovna (Gatcha prize at The 24)
Necklace: Maxi Gossamer – MG – Necklace – 9mm Joli Petite Fatal – GOLD by Maxi Gossamer
Ring: Maxi Gossamer – MG – Rings – 9mm Joli Petite Fatal – 1 finger – GOLD by Maxi Gossamer
Earrings: [MANDALA]Otsumami earrings/GOLD by Kikunosuke Eel
Hair: Analog Dog – .b – cosine sangria by Queue Marlowe
Skin: [PXL] Creations [PXL] JADE SK WineLight Lips MEB C2 by Hart
Larsson
Hands: Slink Mesh Hands (av) Casual by Siddean Munro
Feet: Slink Mesh Feet (Av Enhance) Medium by Siddean Munro
Hand & Feet Appliers: [ PXL ] Creations [ PXL ] Slink Hand & Feet Appliers SK
Eyes: Mayfly – Liquid Light Mesh Eyes (Glacial River, w3) by Arkesh Baral
Lip Gloss: ::Modish:: Yndra lips 2(glossy) by Ele Brandi (Gatcha prize at The 24)

Pose: flowey. ‘razzle’ -HAPPY BIRTHDAYC88! Series by Flutter Memel (available at Collabor88 September 2013)